Just a suggestion for all VFD-Enclosure/Spindle System users… Use the provided French cleat or purchase the upgraded mounting brackets to hang the enclosure in a safe place. In a busy shop things can happen and we have recently seen a lot of damage… everything from just a lost pwm/rpm adjustment knob to busted keypads that have disabled the entire system. Please treat the enclosure like it’s VERY important because without the VFD your spindle is just a shiny door stopper!!
4 Likes
If you do not have wall space to hang them can you attach them to your workbench? Designing a bench at the moment and making a recessed area with vertical plywood to hang them so the entire unit is under the bench. Will that be ok? Really struggling with where is the best spot for them…
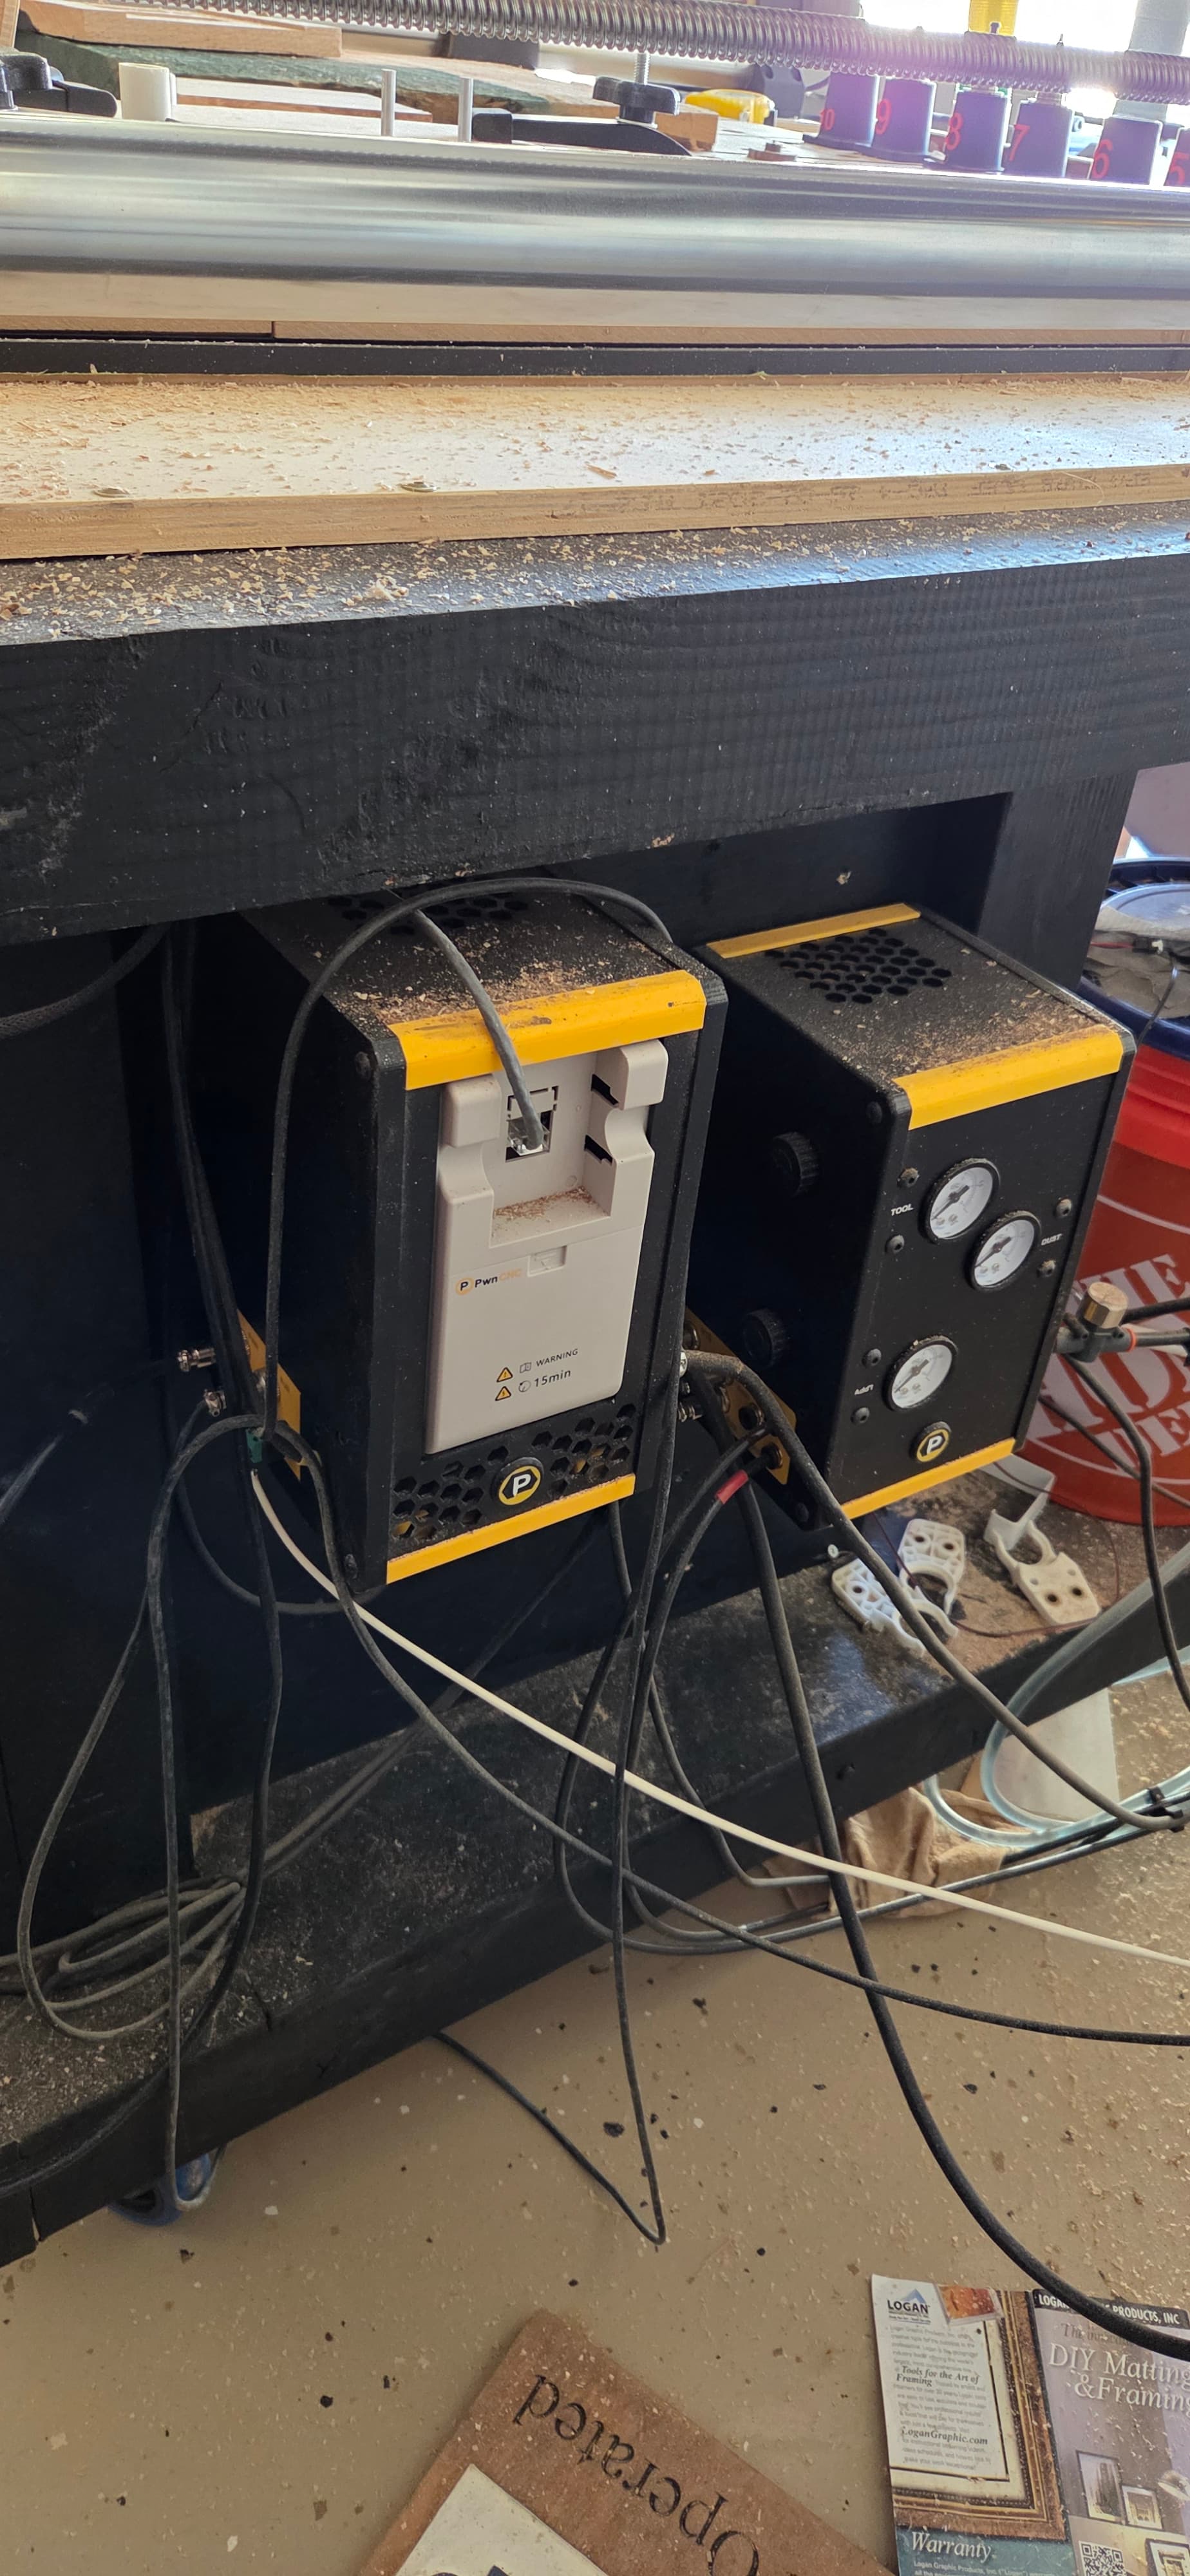
That’s where i have mine. I have them under a 4x4 overhang using said provided French cleat and “what’s this” clip
Awesome ![]() Have a pix by chance…want to build this bench right the first time LOL
Have a pix by chance…want to build this bench right the first time LOL ![]()

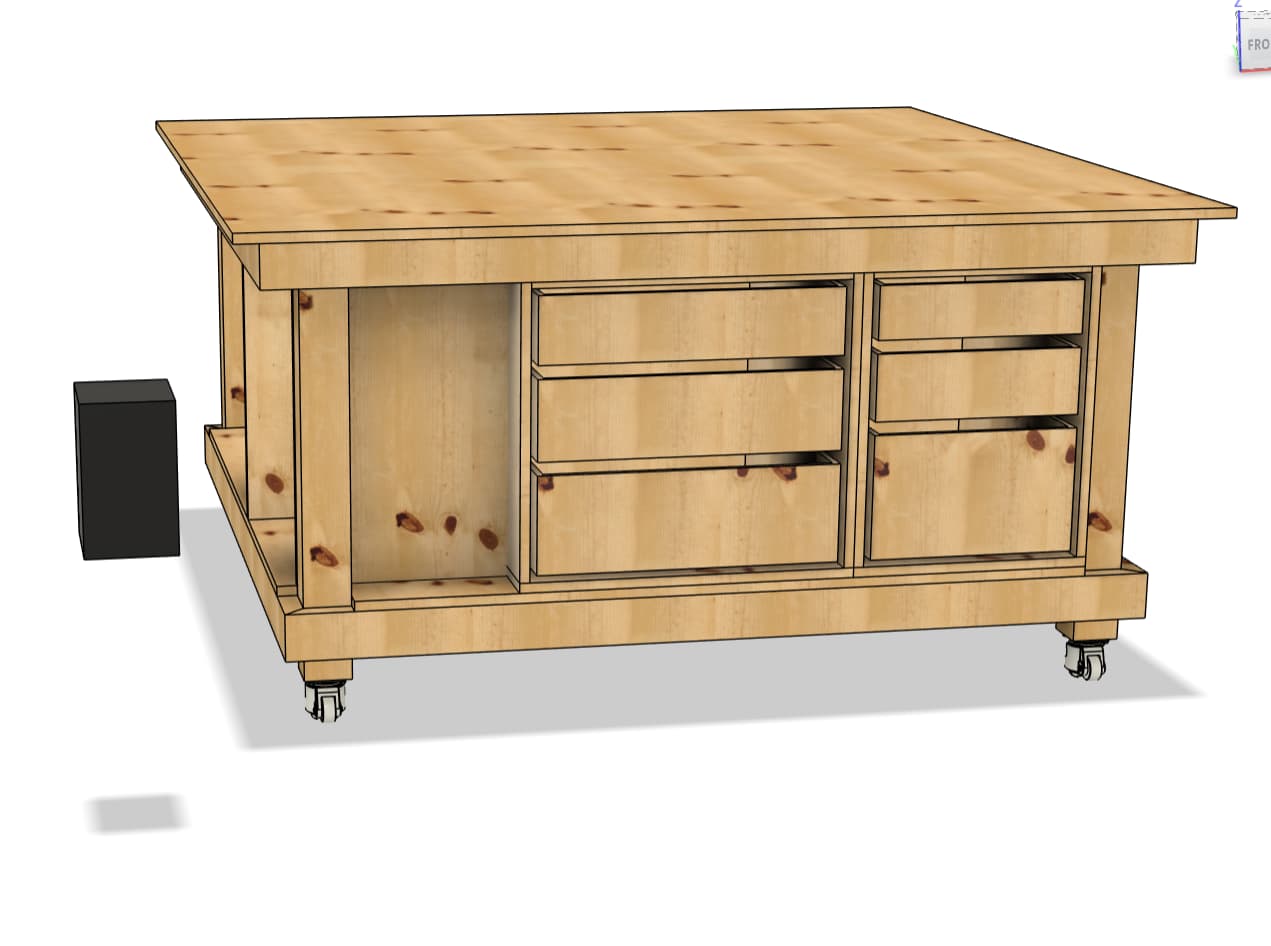
Thanks So much Chris…building this bench and trying to decide what to do with all the goodies BEFORE I need to make changes while building ![]() Here is my bench so far was planning on attaching the VFD on the left side next to the middle drawers. I will need more space because I also will have the PE for my ATC …going to take me months to figure this all out…but that is the fun right?
Here is my bench so far was planning on attaching the VFD on the left side next to the middle drawers. I will need more space because I also will have the PE for my ATC …going to take me months to figure this all out…but that is the fun right? ![]()
1 Like
If getting the atc, remember the pe which shares the same dimensions as the vfd, then there’s the dryer… then also remember the spindle cable, which is also the greatest limiting factor. I use the boom which imho allows the greatest flexibility vs any other option, especially chains.
You are right though, it is the fun part.
My advice is make the design adaptable to change, my table started out without any pho-walls, but i was like i need a place for this, then that, then this, then pulls for my screw hardware, now i don’t know what id do without them
Are you talking about the compressor “dryer”. If so the compressor is going to be housed away from the bench and the dryer will be on the wall. My BIG concern is making sure all the cables are long enough and that my drag chain fits what it needs to …plan is
1F Foreman Elite
PWN 2.2 Water Cooled
PWN ATC
Compressor and filter/dryer bought…the ones suggested by PWN on the inventory page
Still deciding on dust boot…i saw you use the V10…
I bought all the maker files to 3D print the tool Racks…I saw you said on a post…go with high for dust boot…thinking the magnets tall ones?
Deciding on what kind of water pump…pond pump and bucket or enclosed one
Like I said routing allllll of these things probably makes me the most nervous, and how to connect the dust collection…do I go with the 2.5 or the 4 inch all that good stuff…
Your insight is GREATLY appreciated… ![]()
and that is the biggest concern. We provide them pretty generously, but the ATC sensor cable, and the Spindle cable also have extension options found here and here.
Keep in mind those options go from the spindle motor to the included wire to the pe/vfd as appropriate.
If you have a Z Independent dust boot, go with a short or flush.
If you have a Z Dependent (such as V10) go with the tall. Magnetic is an extra luxury. I have them, and I like them. I did not use them when I had my tools along the right in the back, coming forward, but when I moved them to the back of the foot print, i kept it on the back with magnets.
Do you like the V10? also is the suction better if keep the 4 inch or does it get in the way?
Did you get a wider drag chain to accommodate the water lines and all the other stuff?
Also how does the boom work? What do you put on it? I think I want my set up a lot like yours…i reallllly appreciate your time with me…Thank You!!
A decision that has plagued mankind for months…
when going enclosed passive cooling is all that is needed, and active cooling can be detrimental over time.
I prefer Z Dependent… especially with ATC.
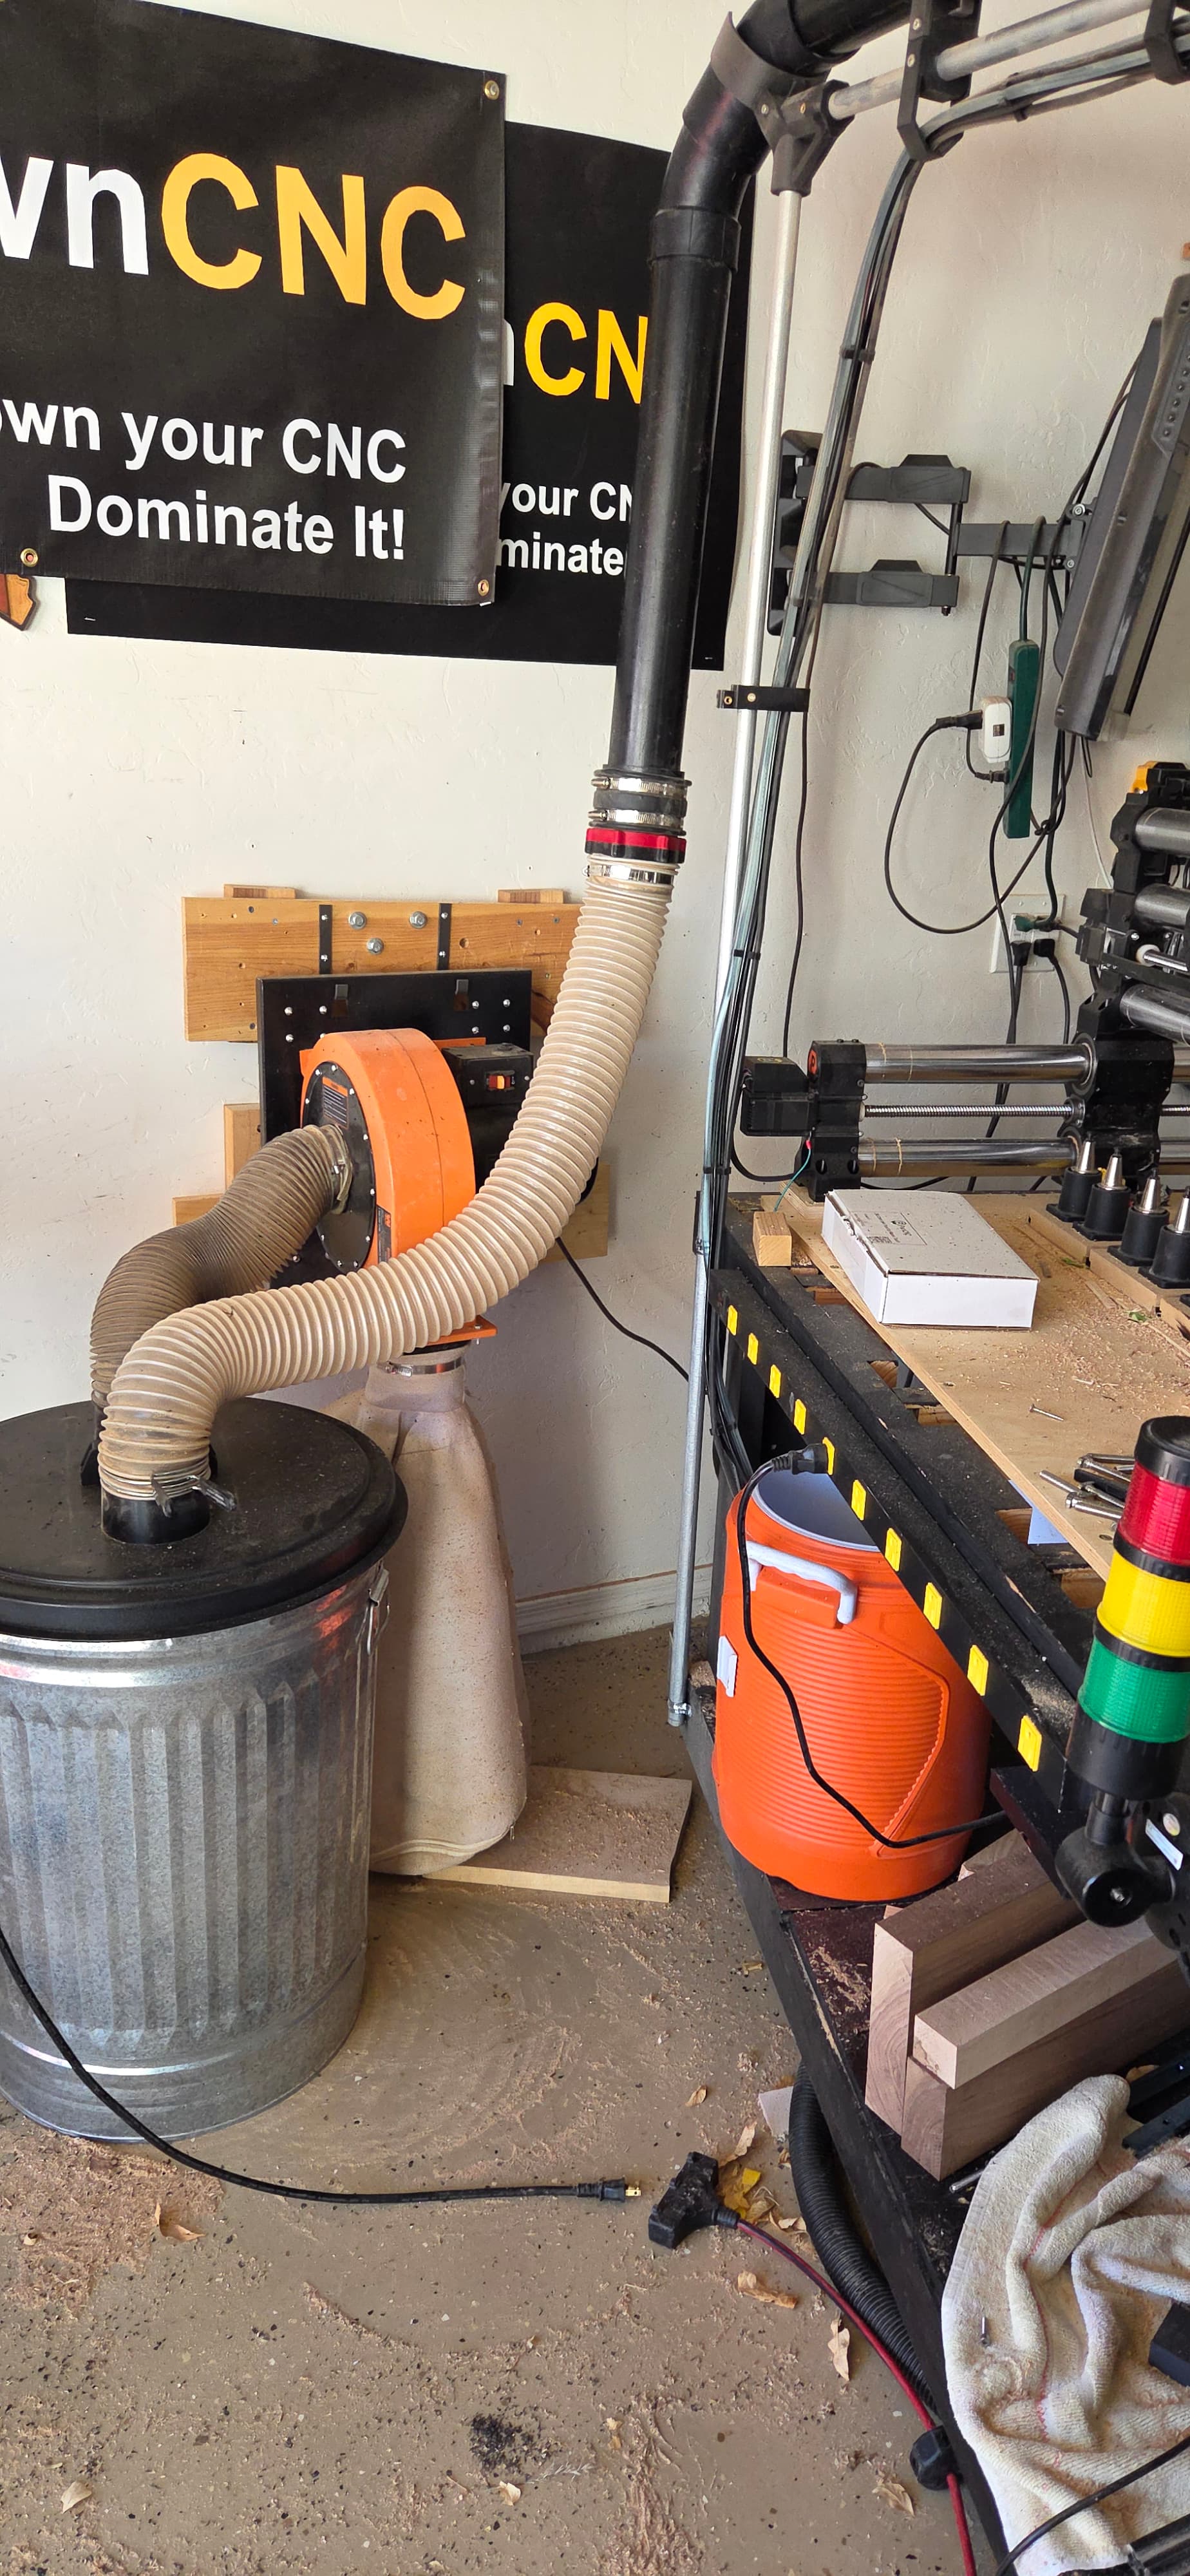
The 4" is bulky, but have this and use a 6" arm with a 4" attachment
Just the boom.
So if you get the boom with the 4" attachments, you’ll just need to get yourself 3/4" EMT and cut it, and mount it. preferred holes for a screw to go in, so that it stays in that orientation, otherwise it’ll move in and out, and maybe even fall off.
I used a couple of emt straps and a screw to hold it up, then the “joint” and only have it go to about the middle of your table at the most. IF you have it stretch out further you might have issues when going to the back/behind it.
no problem, taking a break from doing work around the house ![]()
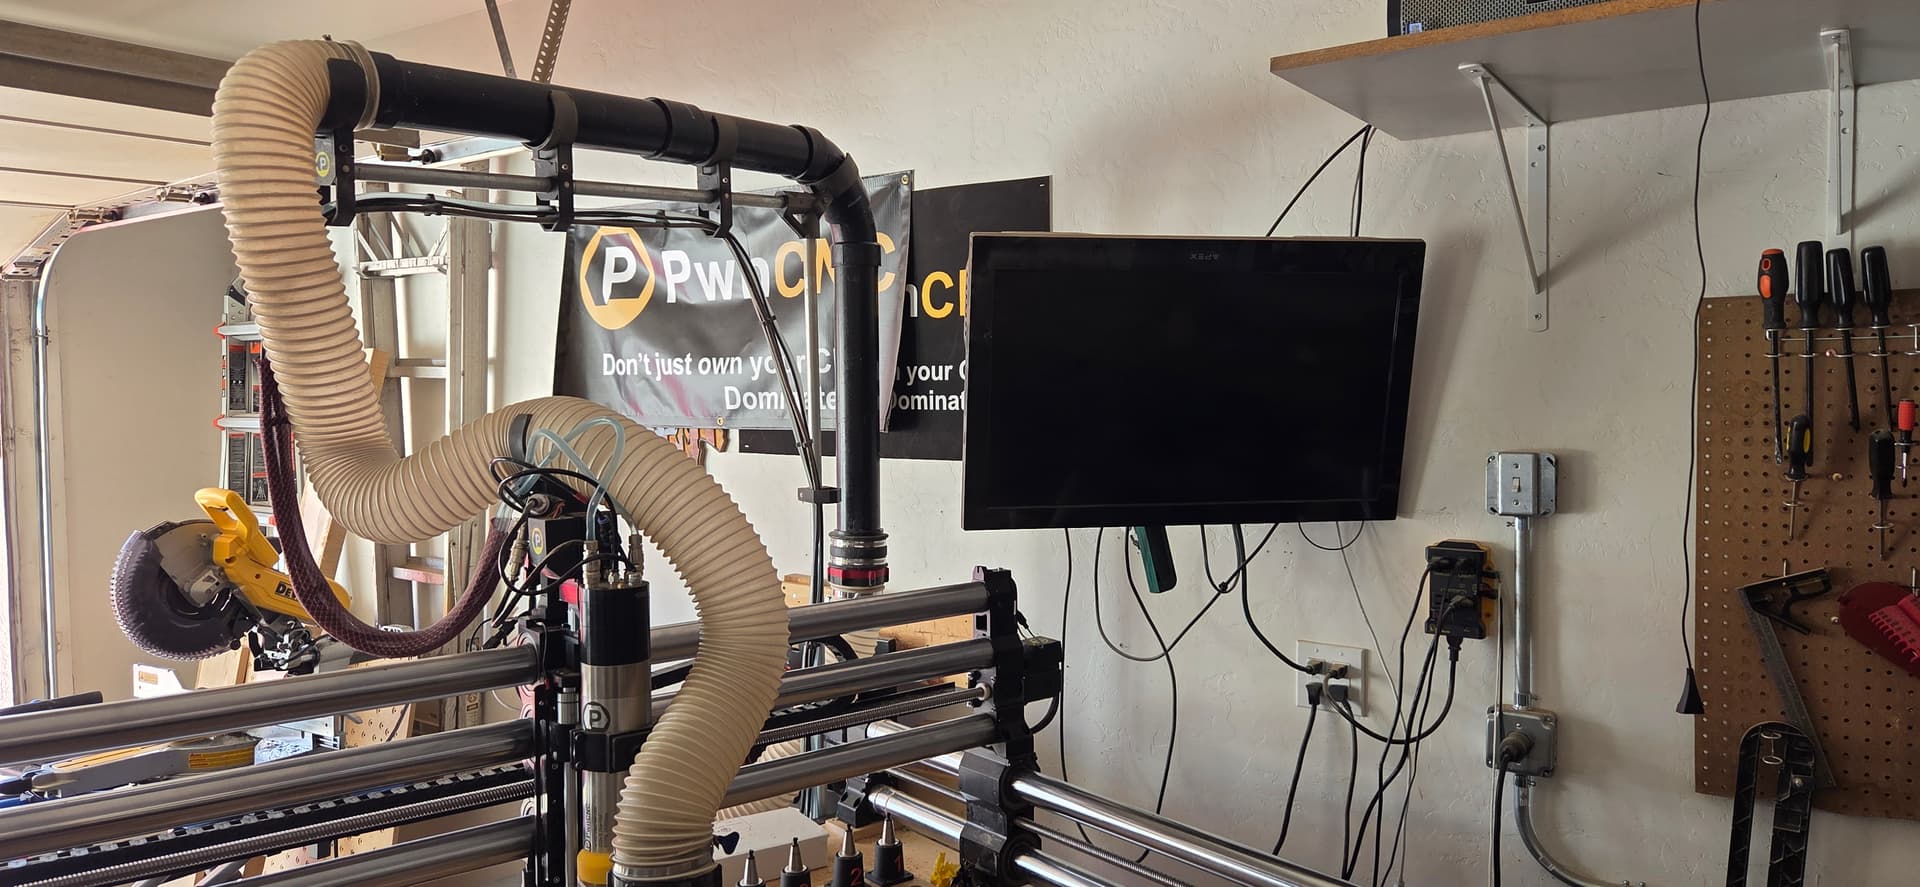
Ok last thing…can i get a pix of your whole set up with boom i just want to see what it looks like…i didn’t like the idea of widening the drag chain ![]() Work around the house sucks LOL
Work around the house sucks LOL
Since you said you bought the tool rack files… do yourself a favor, buy alot (like 100) of magnets, get the maglock files then however many rubber couplers and retrofit your shop

1 Like
Once again…you ROCK! This is what I wanted to see…So looks like you run the coolant and ? up on the boom and you do run a 4inch onto the V10.
Before I started this new purchase adventure I put these things all over my shop. Now that I know I can print them I am in ![]()
If it goes to the spindle its along the boom, so coolant, air, spindle, and atc sensor cable. All of those are along the right side of my table, so the boom is on the right side also.
3" black abs’ coupler is the size of the 4" attachment.
I have one of these every 18" or so to keep the hoses from tangling
I Seriously can NOT Thank you enough for this info. I ordered my machine on January 6th so just now really starting to get the building and prepping part going. A bit overwhelming but this has helped a ton. Thanks again!
1 Like