Working expanding the keypad mount to incorporate a pair of momentary switches. I need to oder the MOS cable and then measure the diameter of the the smallest end so I can update the lower back panel and reprint it (adding a second hole below the buttons’ holes). I also made a temporary blank cover until I get the cable and move the manual / auto switch up to the keypad mount.
I found I can also laser etch labels onto the button faces, thankfully in the first try. (wasn’t entirely sure how that was going to go.
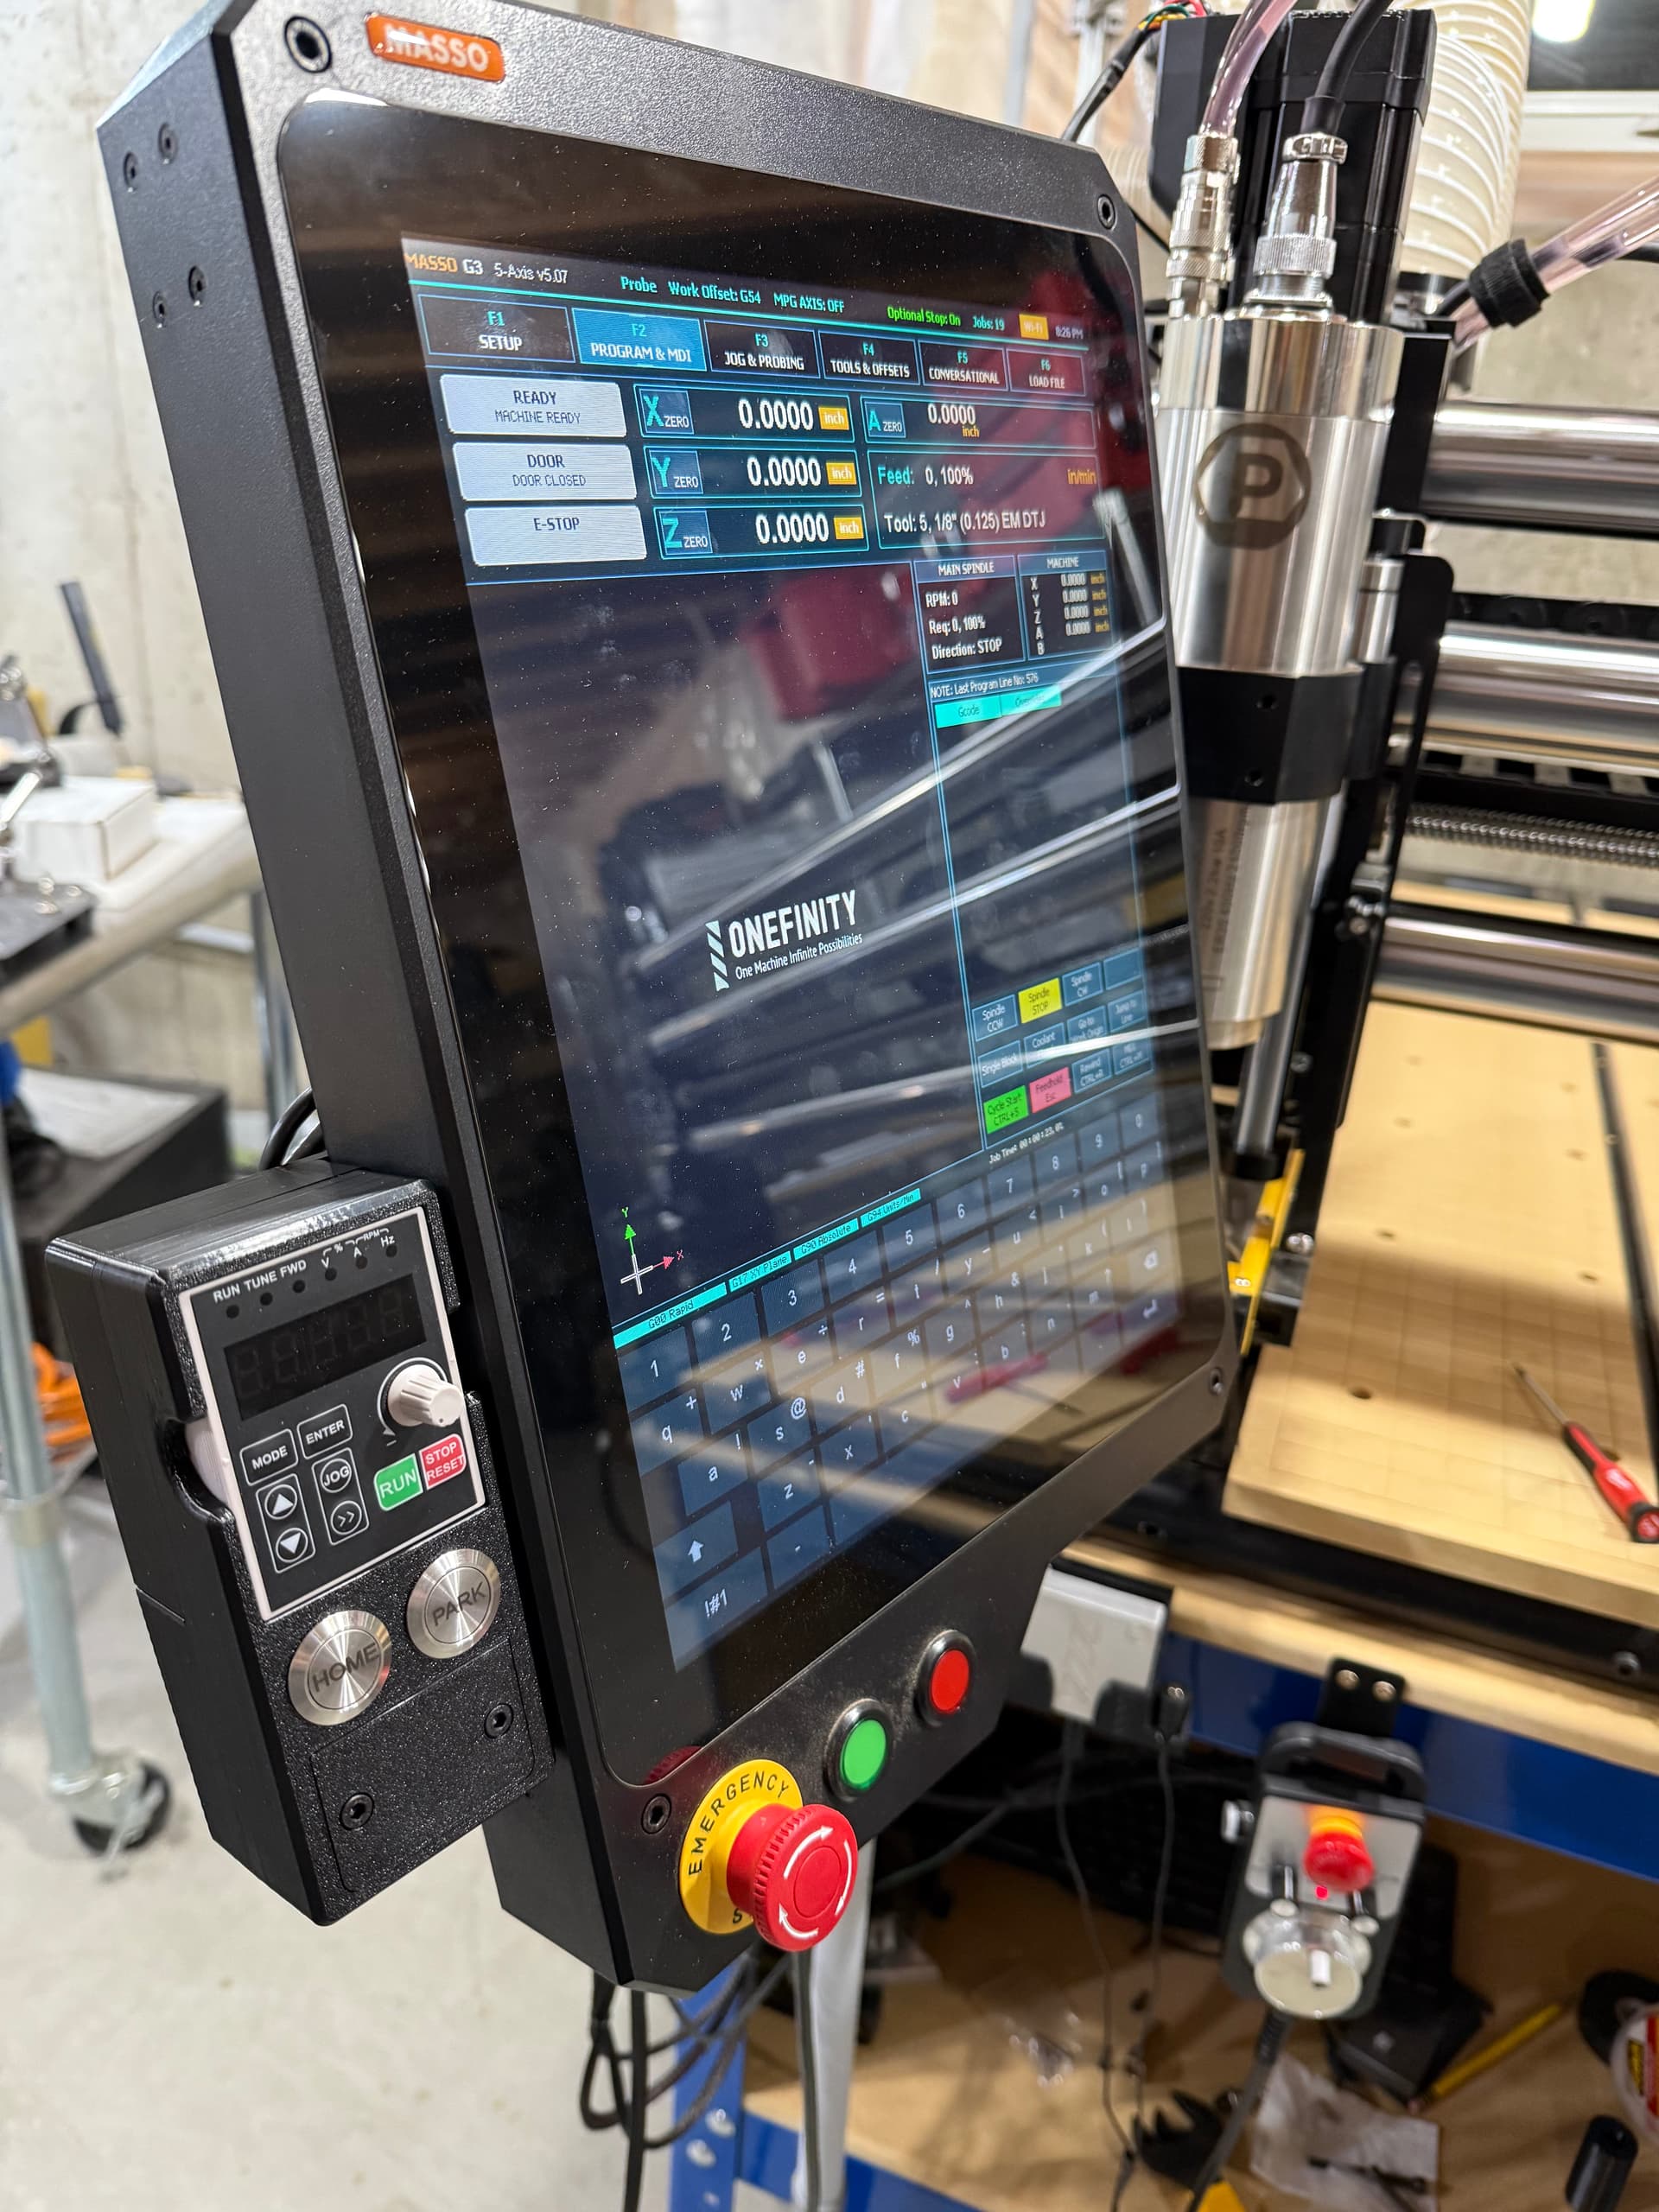
I love this idea! Ugly Dog Woodshop has some similar “sidecars”, but they aren’t in my budget so I was thinking of making my own as well. I’m curious about the electrical circuit and connections for the home and park buttons, would you share the details?
Nice! I ended up getting the Ugly Dog version that has the home, park and Man/Auto switch and is magnetic so the screen door can be opened without removing screws. Huge upgrade.
@Eriz I would be happy to show/explain the electrical circuit. I will need to open the panel to take a picture. In the picture of the back of the masso, there is the PWN inlets panel that I recently added. I really like it and it makes it easy to make quick connections (however you either need to be okay with soldering or purchase the appropriate prewired inlet cable from PWN.
Either way you need to end up with a pair of wires running from the button through the masso panel and up to the board to make connections to the desired input number. It’s also best practice to wire in a ‘pull up resistor’ which I can show in my picture as well. It’s really easy and then equally easy to set up the button to be programed to a specific behavior in any of the inputs you choose.
@Rizzo By chance do you have a Masso Relay in your system? I’m trying to determine the best way to power it, either from the 1F 24V input by tapping into it or with a standalone power supply.
@Oseanmc I don’t (yet) but perhaps soon. I would think running a dedicated 24v supply would be best, as you wouldn’t want potentially comprise voltage to the the main MASSO board.
I picked up Ugly Dogs Sidekick Pneumatic dust boot and although he shipped a cheap relay with it, I already had the Masso relay sitting on the shelf and had not installed it yet.
I had thrown my question on the forum and had someone point me to the Masso documentation that shows using a 24v supply with a 1amp fuse. I know the 1F power controller has a 1amp fuse for the mains power.
I’m on the fence about how to approach it and want to make sure I don’t brick the Masso. Seems like there’s always smart(er) folks in the forums who are eager to share their knowledge backed up with some math and a few charts detailing how to unconfuttle these types of things.
Yep, I just set up the ATC system after moving across the country last spring. Just trying to dial everything in. I have a Elite Journeyman and went with Ugly Dogs tool holders also. They are tightly spaced so I can get 14 tools.
I have to figure out what spoil board work holding solution to go with this time around. I always had T-Track but I’m starting to think clamping with dogs and side clamping is better.
Its been out of commission for nearly six months, I have to remember how to use it all over again.
I ordered the male and female gx12 connectors and soldered my own “cable inlet” together. They are simply 2 pin gx12 connectors, and the wires terminal in ferrels. One of which is paired with a pull up resistor. I still owe pictures / a diagram of what I did wiring wise to Eriz. I will post that here soon. I can also provide a link to the cable I ordered from amazon as well. Its a shield two wire cable that is pretty flexible.
@Eriz@Bljustice4 here is the wiring diagram for the button. I used the 2 terminal gx12 connectors (for my inlets panel) form Pwn. The buttons were just stainless momentary switches that I got from amazon.
Here is a link to the cable I used. I really like the cable that pwn has, it’s really soft and super flexible, this is close but not quite as nice.
Thanks looks nice! I guess the only difference with the buttons I ordered is that they have a light around them so the wiring may be slightly different but I like the idea of the gx-12 connectors