I bought my Shapeoko 5 Pro 4x4 two years ago. Initially, I was able to get the unit to work and do the first thing Carbide Create suggests, which is to put a pen in the chuck and run a test program. That worked fine. I did a bunch of other minor tests and the unit worked flawlessly.
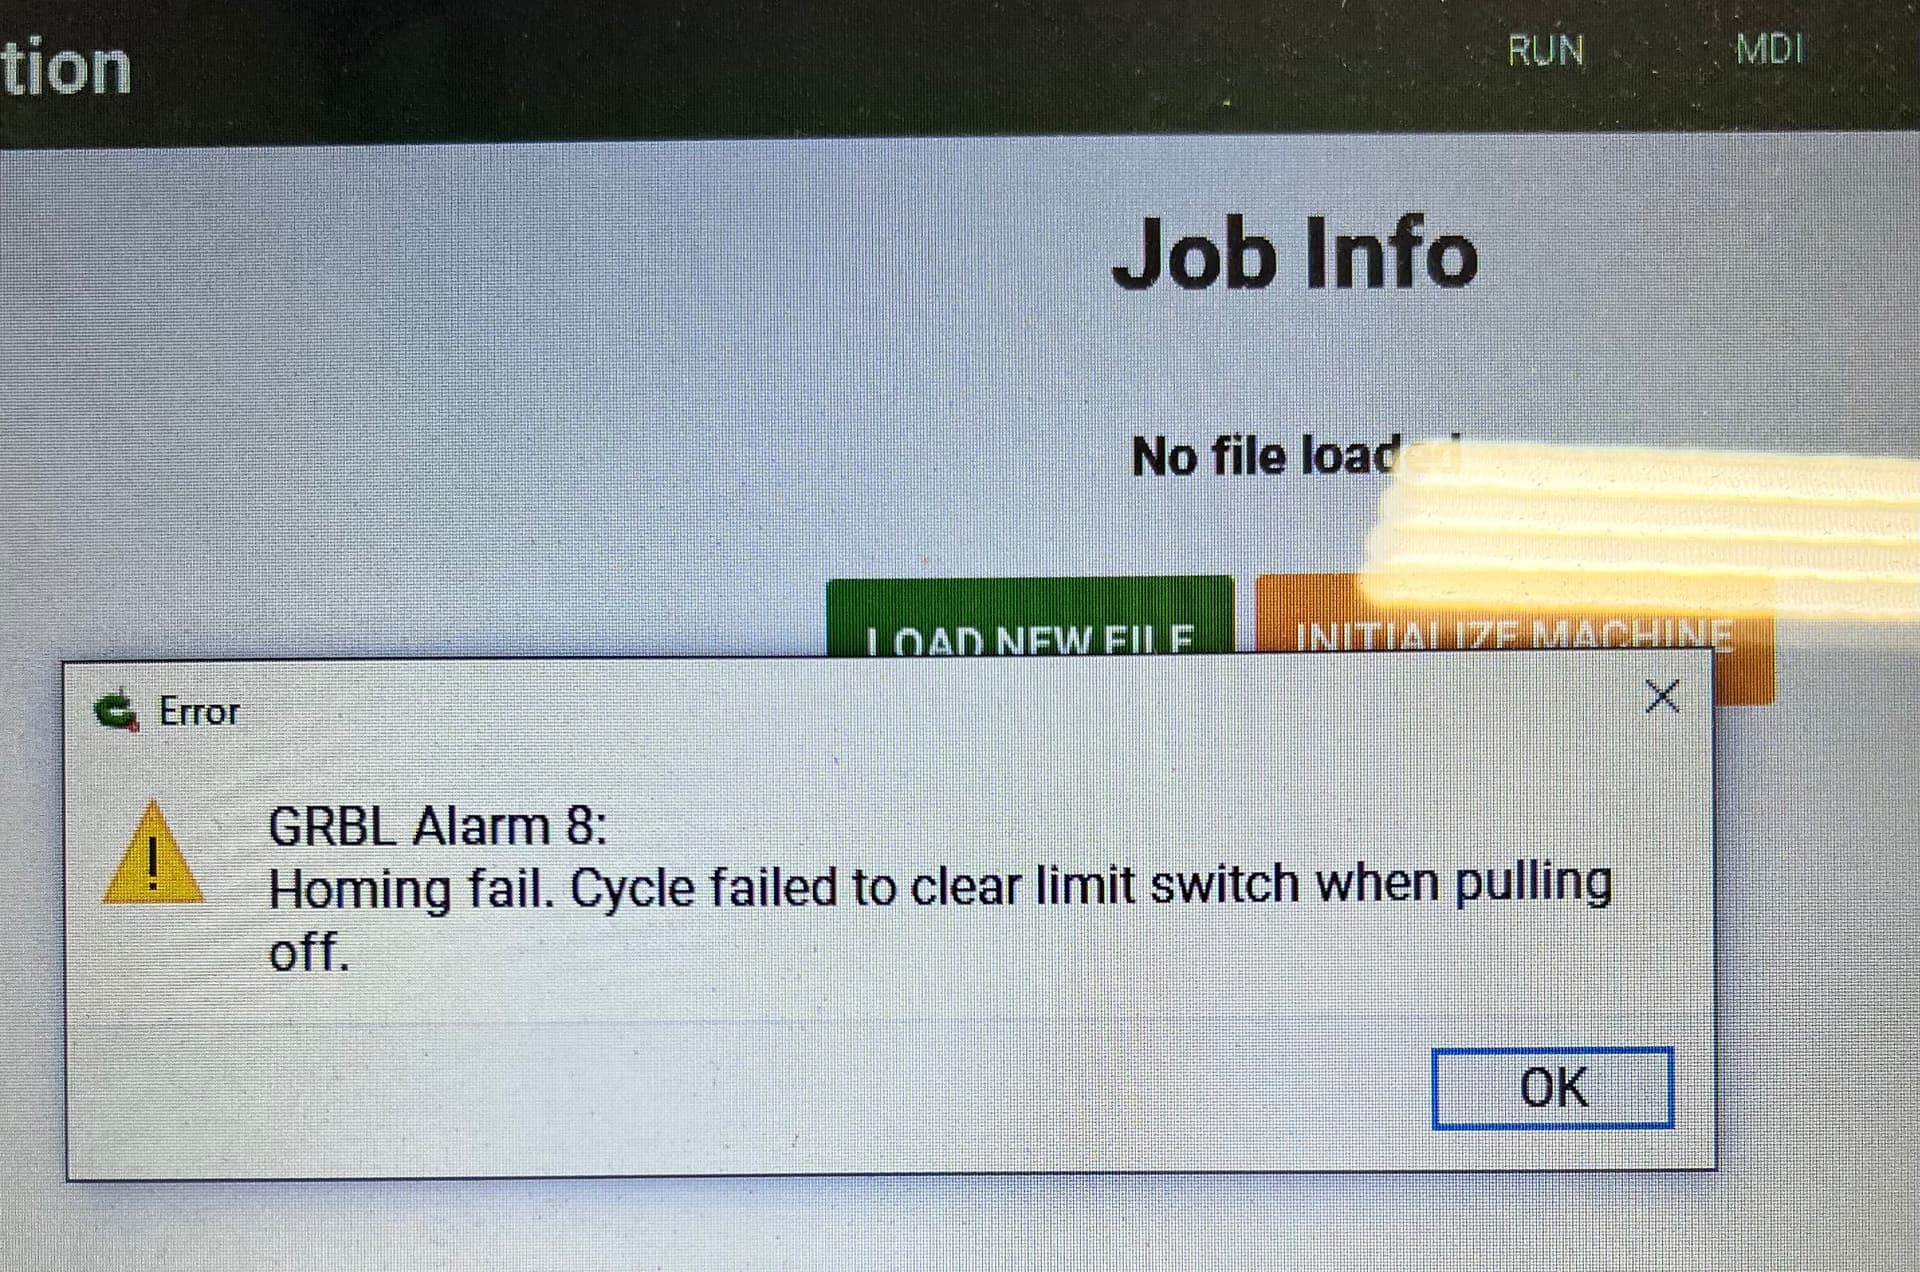
But, about two weeks after setting up the unit, I experienced my first problem. The Z wouldn’t home properly and the gears would grind. I called Carbide Create and they were very helpful and we solved the issue. But, once I got the machine going again, I would start getting these GRBL 8 messages and wouldn’t be able to get the unit to home properly.
Many phone calls, and many Facebook type of calls where I would show the tech support guys what was happening, and we couldn’t solve the problem.
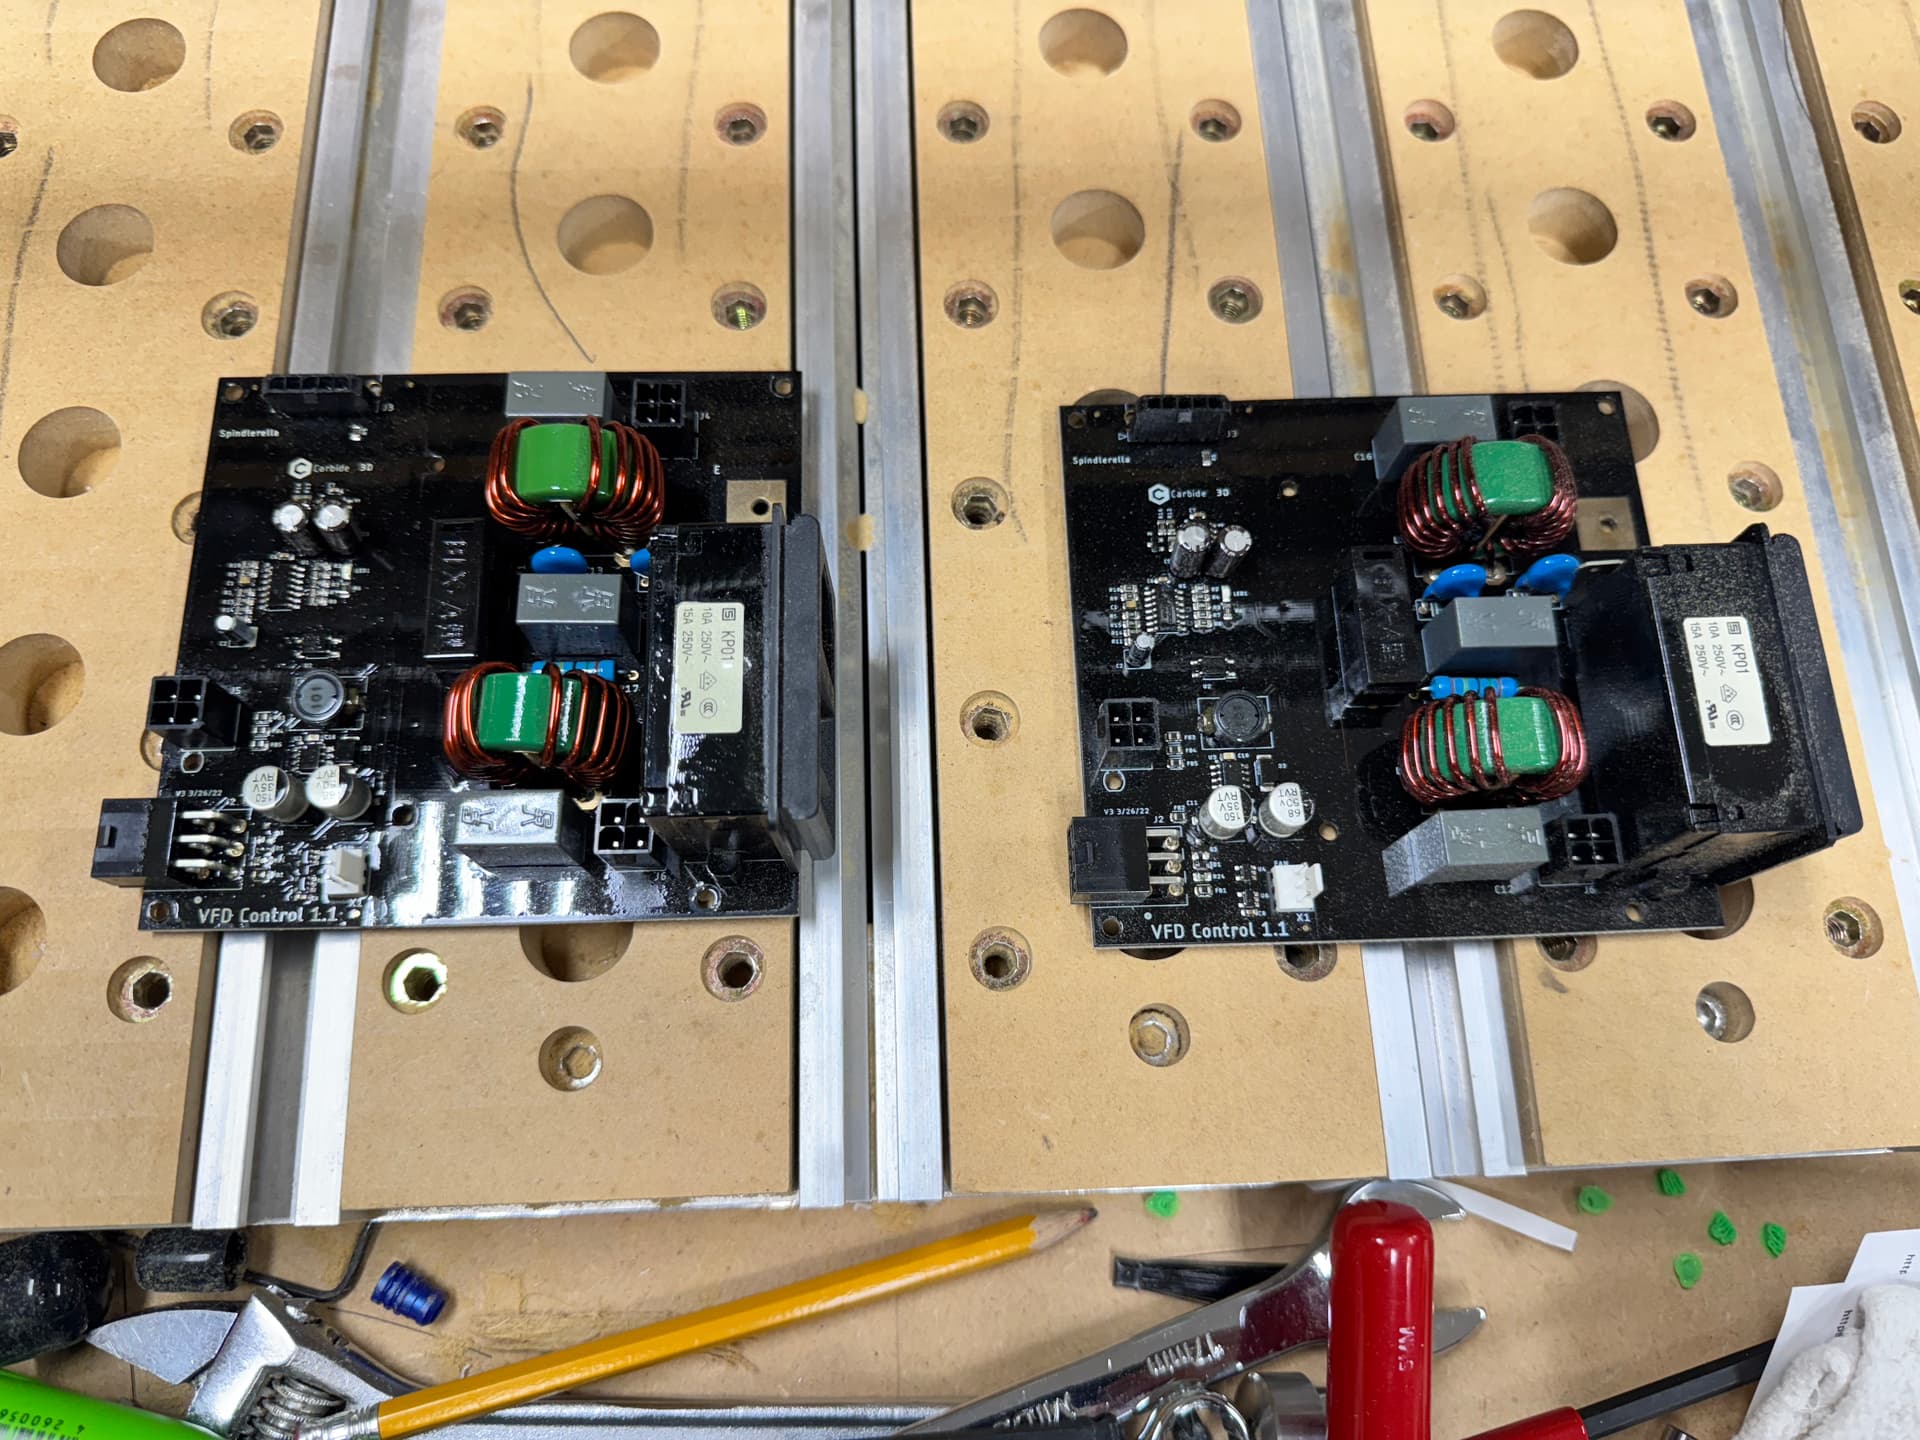
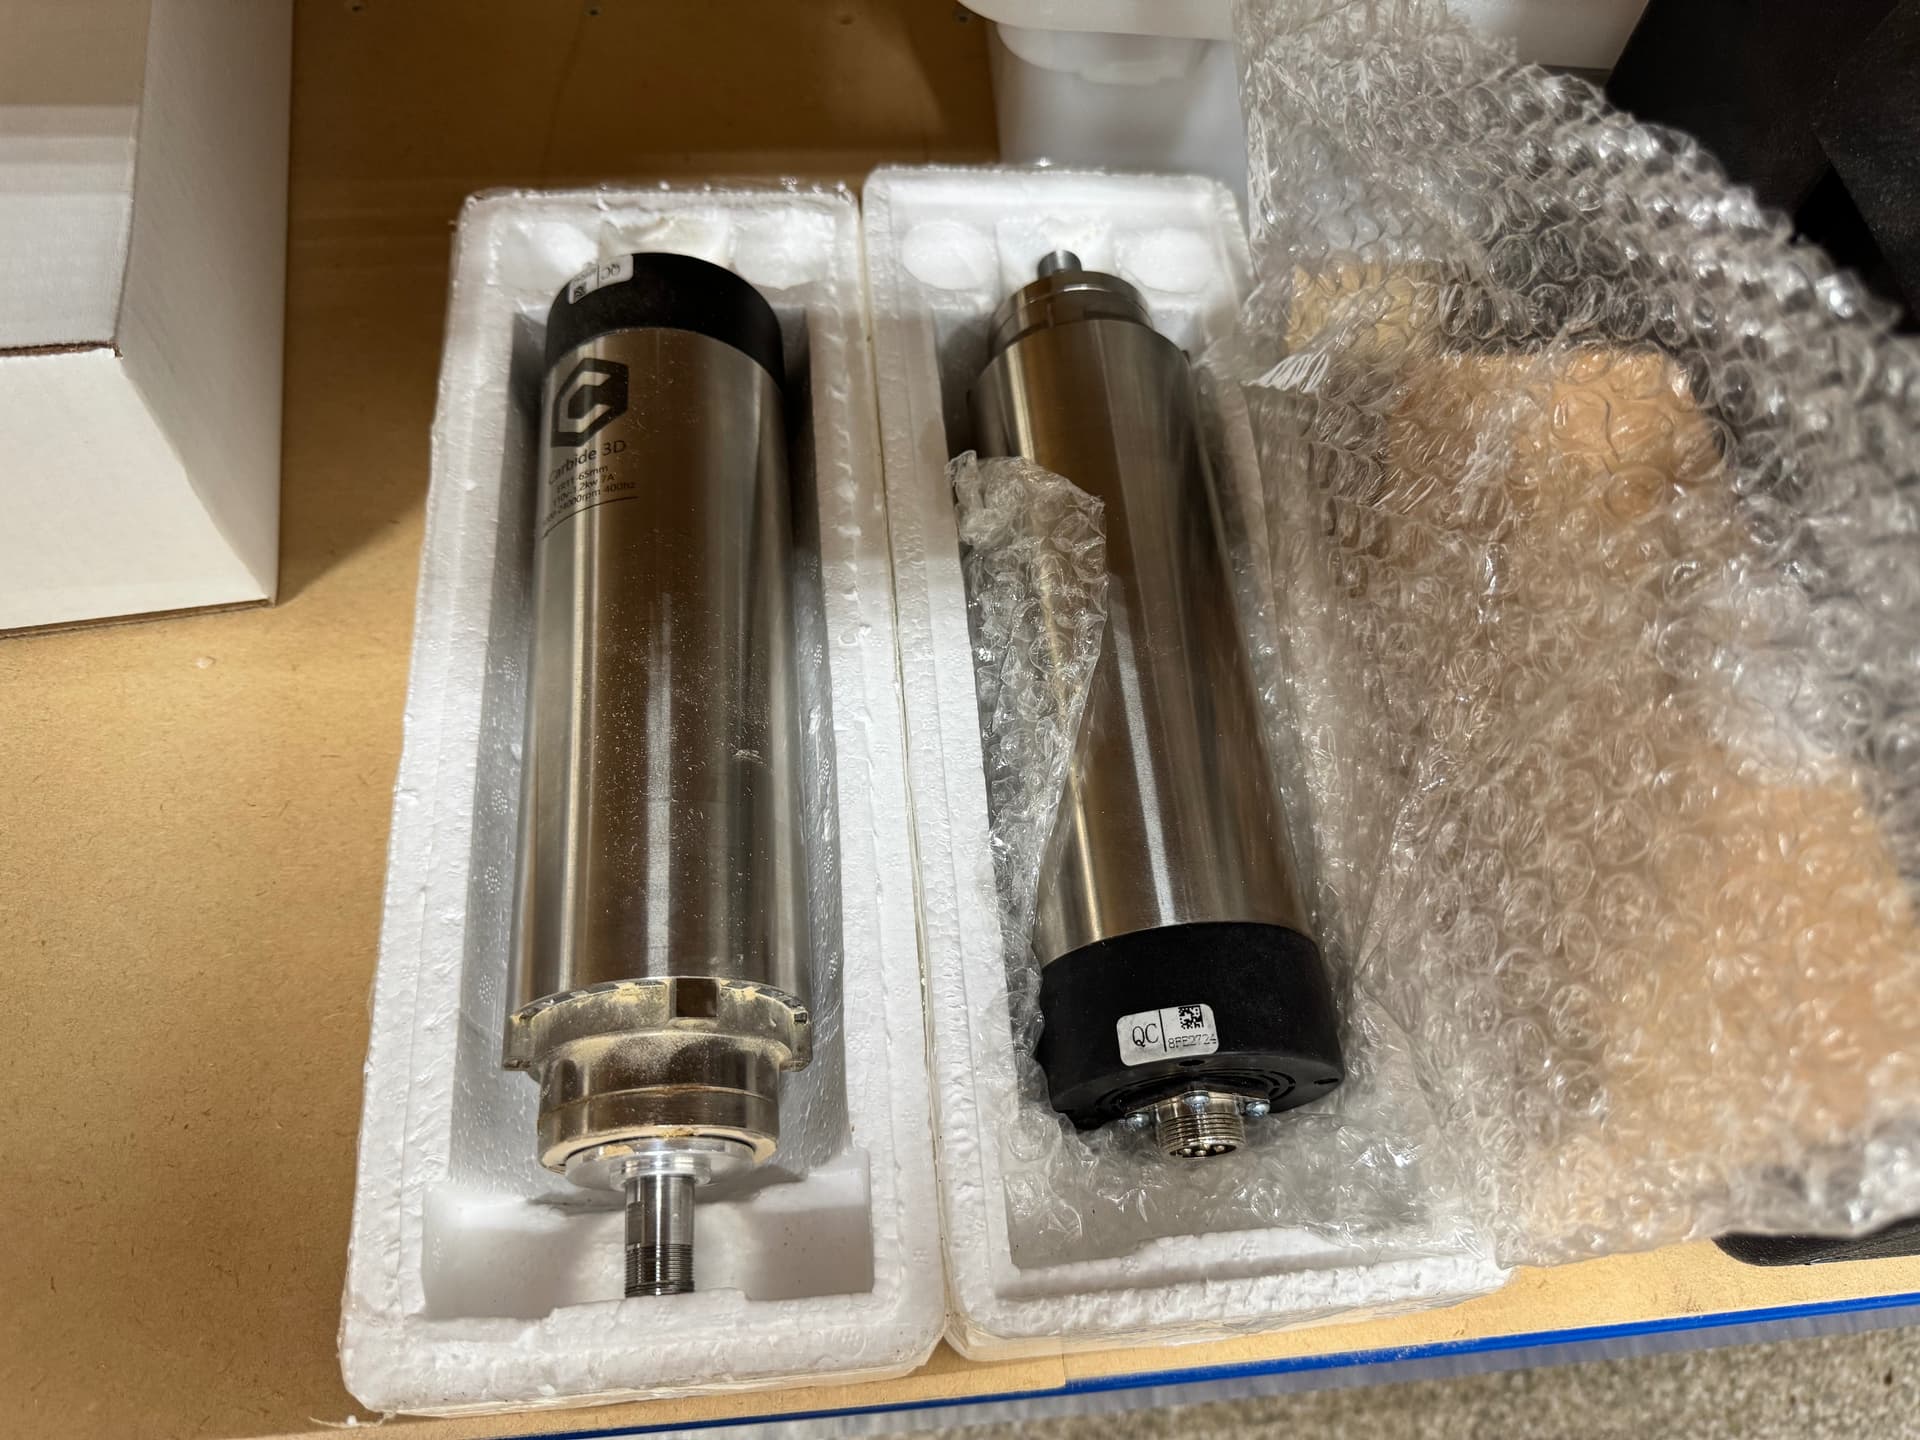
Long story short, over the course of two years I eventually went through six replacement Warthog controllers, two 65mm spindles, 2 new boards in the VFD, and a complete new wiring harness. After all of this, I still could not get the unit to work properly for any length of time. All told, I had about twenty total hours of use on the Shapeoko after owning it for two years.


My wife, understandably, was upset. Here I spent a significant chunk of money for a tool I would use in the garage when I could get out there. I thought there had to be a better way and started looking at retrofit kits or new machines. I did a lot of research and found a lot of products that could do what I wanted, but when I drilled in deeper, the cost was too exorbitant or the company’s tech support didn’t want to field questions from me about their machines.
I had seen the PwnCNC spindles in the past and based on my reading of how to use them with the Shapeoko Warthog controller, I thought it was not for me. Plus, I wanted an ATC. And a Masso unit. When PwnCNC came out with their Shapeoko 5 Pro retrofit kit with the spindle, ATC, and Masso, I called immediately and spoke to tech support at length about buying the kit or ditching the Shapeoko and starting fresh. They said a lot of things that made sense, and given the Shapeoko’s quality frame build, I decided to take the plunge and buy the PwnCNC kit.
Before the setup arrived, I searched the internet regularly to see if anyone else had done a retrofit on the Shapeoko beside PwnCNC. I found a couple of articles about the retrofit process, but it looked like most of the people had the 2x2 beds except for this guy: Shapeoko 5 pro MASSO conversion - Unsupported - Carbide 3D Community Site. His retrofit looked pretty good, but I couldn’t get a hold of him other than what was posted on the forum which was very informative. I used some of that information, particularly the photos of his setup for the X, Y, and Z axis. It is worth a read.
I also found Peschkaj’s link on the PwnCNC forum at this link: Shapeoko Conversion Kit Process. This is a great step by step guide for those of you who buy the PwnCNC setup. I used it and communicated with Peschkaj about it for quite some time.
So, if you use the above two website links, you will get some valuable information. But for the Shapeoko 5 Pro 4x4, I found some things that I wish I knew about at the time of my install and want to share to make it more helpful for you. Here are my tips:
#1 – Run the X motor cable within the X gantry. Remove the end caps on both sides and run the cable through the length of the gantry. This will free up more room for your pneumatic lines, water lines, and the Z motor cables in the drag chain on top of the X gantry.
#2 – Buy bigger drag chains. You will need at least two 18x50 drag chains and some extra links for this setup. I bought three total and it was worth it.
#3 – Get the riser blocks that PwnCNC sells if you are going to use the tool forks. You won’t be able to use them if you don’t raise the X gantry higher as the ISO20 collets will hit the bottom of the rail. And really, I think it is worth it to have the riser blocks even if you aren’t using the tool forks. The extra height it creates gives you more flexibility.
#4 – The length of the motor cables will work great on a 4x2 Shapeoko, but if you are trying to run all of the cables in the drag chains for a 4x4, some of the cables will come up short. To make the drag chains work, you will need to remove both of the drag chains on the X gantry and replace it with only one larger 18x50 drag chain, and replace the drag chain with a larger 18x50 one on the Y gantry and reverse its direction on the left side of the machine (if you are facing the front). This will require some drilling with a drill tap. I drilled two new M4 holes on the back side of the X gantry and two new M4 holes at the front of the left Y rail to accommodate the Y drag chain.

This allows the cabling to exit to the front of the machine as opposed to the back and gives you more length of cable to connect to your Masso and other electronics.
For the main drag chain on the X gantry, I had to drill two new holes on the left side to accommodate the new drag chain. On the side closest to the Z motor, I used a spacer made by PwnCNC (the yellow object) to attach the drag chain to the already existing holes so I didn’t have to drill there.

#5 – I setup my Masso to be on the left side of the machine when looking at it from the front. So, for the right side Y drag chain, leave it as it is and run your ground cable through it. Make sure you tape it down towards the opening by the Z and X motor areas as it could get caught or pulled on if you don’t.

#6 – One of the nice things about the Shapeoko 5 Pro is the amount of threaded holes located throughout the body. These come in handy. I made some retainer “shoes” to hold the larger drag chain so it wouldn’t fall off the Y rail on the left side. If you want the STL file for the “shoe” let me know and I can send it to you for your 3D printing needs. I also added some “bumpers” for the right side Y rail as a just in case as seen above.

#7 – When you initially setup the machine, use the metric setup. This makes the next step very easy.
#8 – Make sure when you set up your axis settings for X, Y, and Z that you refer to the Shapeoko website (Shapeoko 5 Pro Specifications) to get the correct size for the ballscrews. Use the metric numbers and enter them in the Motor: Distance per revolution section for each axis. Then look at each of the motors you have. On the top is a blue 6 pin rocker switch. Match what the rockers indicate with the sticker on the side of the motor to give you the Drive: pulses per revolution setting you need for the Masso. Mine were set to a default of 10000. If you don’t set this up right, your machine will not work properly in terms of overall travel.
#9 – I setup my machine as close as possible to look like the PwnCNC machine as seen here: https://www.youtube.com/watch?v=B3KM-TEaDHQ. While many people set up the Masso to be on the right (including in the video), I found with a 4x4 after running all of the wires that the left side was much easier. If you have the 4x2, then you will certainly have enough available wiring to run the Masso from the right hand side.
#10 – I placed all my tool forks on the left hand side, as well as the tool setter. Again, I wanted to try to make my setup look and work as close to the PwnCNC setup in the video above and elsewhere on PwnCNC’s website. To mount the tool setter, I had to drill tap two new M4 holes using the tool setter’s holes as a guide. My first hole I drilled was too close to the wall of the rail and I couldn’t turn the drill tap as a result. So I repositioned the hole toward the middle of the aluminum spacer as seen in these photos.


#11 – Read the online manuals at both PwnCNC’s tech support site as well as at Masso’s. These are invaluable and can help alleviate about 75% of the questions you may have setting this thing up.
#12 – Watch the videos from Mitchells Woodwork, LLC on YouTube. He has a lot of good videos on setting up your machine, as well as specific items such as the toolsetter, ATC setup, and more. His easy-going style and comments he makes about how and why he sets up the machine the way he does are worth the watch. I found him to be one of the best resources on the web. https://www.youtube.com/@MitchellsWoodwork/videos.
#13 – If you need help setting up your touch probe, this is a great video to see how it is done: https://www.youtube.com/watch?v=nzFUyrQYVmY. Even though it is geared towards a Onefinity Elite, the information works for Shapeoko setups as well.
#14 – Label all your wires if possible. This will help you in the long run as all the axis wires look the same, and knowing which one is the X, Y1, Y2, or Z is crucial. Almost all the wires have specific ends that will only fit in one spot, but when you have multiple wires laying around everywhere, labeling is a good thing. I also found this graphic was very helpful in setting up the ATC, VFD, water cooler, and Masso controller.

That’s it for now. If I come up with any other useful hints I will be sure to post them here. I have to say, and this is no joke, the tech guys and Daniel at PwnCNC have been extremely helpful and generous with their time. Call them if you need help. Or use the support resources on the web.