I’m in the final stretch of my UNfinity make-over. It started with removing everything from the machine - steppers, wiring, power, etc. The only original equipment left is the frame.
Project goals started off seemingly modest: Replace the original 1.2nm Masso steppers with 3nm versions, along with new STP (shielded twisted pair) wiring. It quickly morphed into new drag chains (6-8x original size), all new power wiring, Masso Wiring Module to move all wiring connections to a new enclosure, and replacement of the small Onefinity power supply.
At the same time I had to integrate some parts I’d already had partially set up, including wiring to control 6 air solenoids which will control X and Y pop-up pins among other things. Since I had to go to a large enclosure I took the opportunity to add additional IO connections, including for Tool Setter, 3D probe and a number of spares for future possibilities.
Everything has been crammed into an old Power Mac G5 enclosure. I’ll give a breakdown of everything that’s included in the build a little later. For now, here are some photos.
Front panel controls. Green lit and rotating power switch, keyed master switch, master E-stop light, Master E-stop switch. Safety interlocked to prevent system coming ON when resetting the E-stop or after power failure without first turning off the power switch.

Inside of G5 case showing Masso G3 wiring module (the controller sits inside the original Touch case and links via two large D-sub cables). Top and middle two Mean Well 36vDC power supplies.
Rear-mounted Noctua fans in original G5 fan mount suck air into the case through 3M filter (not shown) creating positive air pressure in case. All perforated surfaces covered in fine mesh to prevent dust ingress.

24vDC power for Masso G3 and relays, power inlet filter, two contactors to control 120vAC power to front-panel controls and additional 36vDC power supplies, DPDT relay used as a safety lock-out to prevent unexpected power-ON after power failure or master E-Stop use.

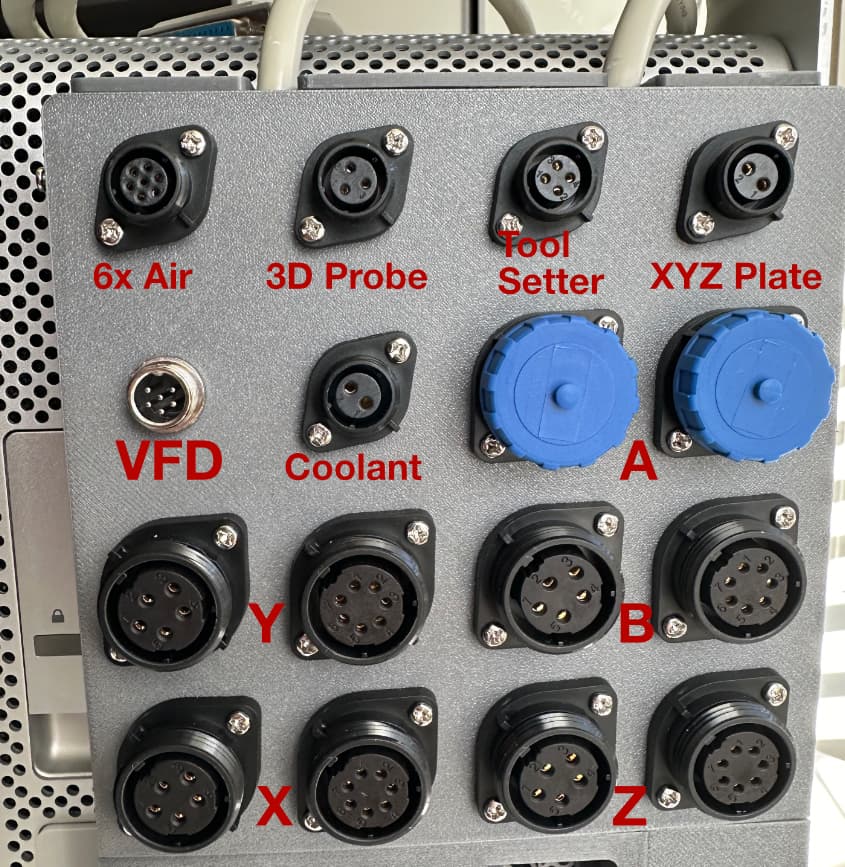
3D-printed back panel on G5 case for all wiring connections. Extra/misc I/O connectors down the right side for future use. Large grid rectangle area to fit 3M filter media for internal fans.

Back panel top section. 5-axis control with 5-pin connectors for direction/pulse signals and 7-pin connectors for 36vDC power, enable signal, alarm signal and homing sensors.
Small 7-pin “Air” connector controls 6 solenoids for air delivery to pop-up alignment pins, tool setter air blast and future ATC pneumatic control inputs.
Power cable for enclosure with locking power connector and in-line GFCI

Remote E-Stop (in series with others) and rotating “Manual mode” switch for VFD. This connects to the VFD enclosure.

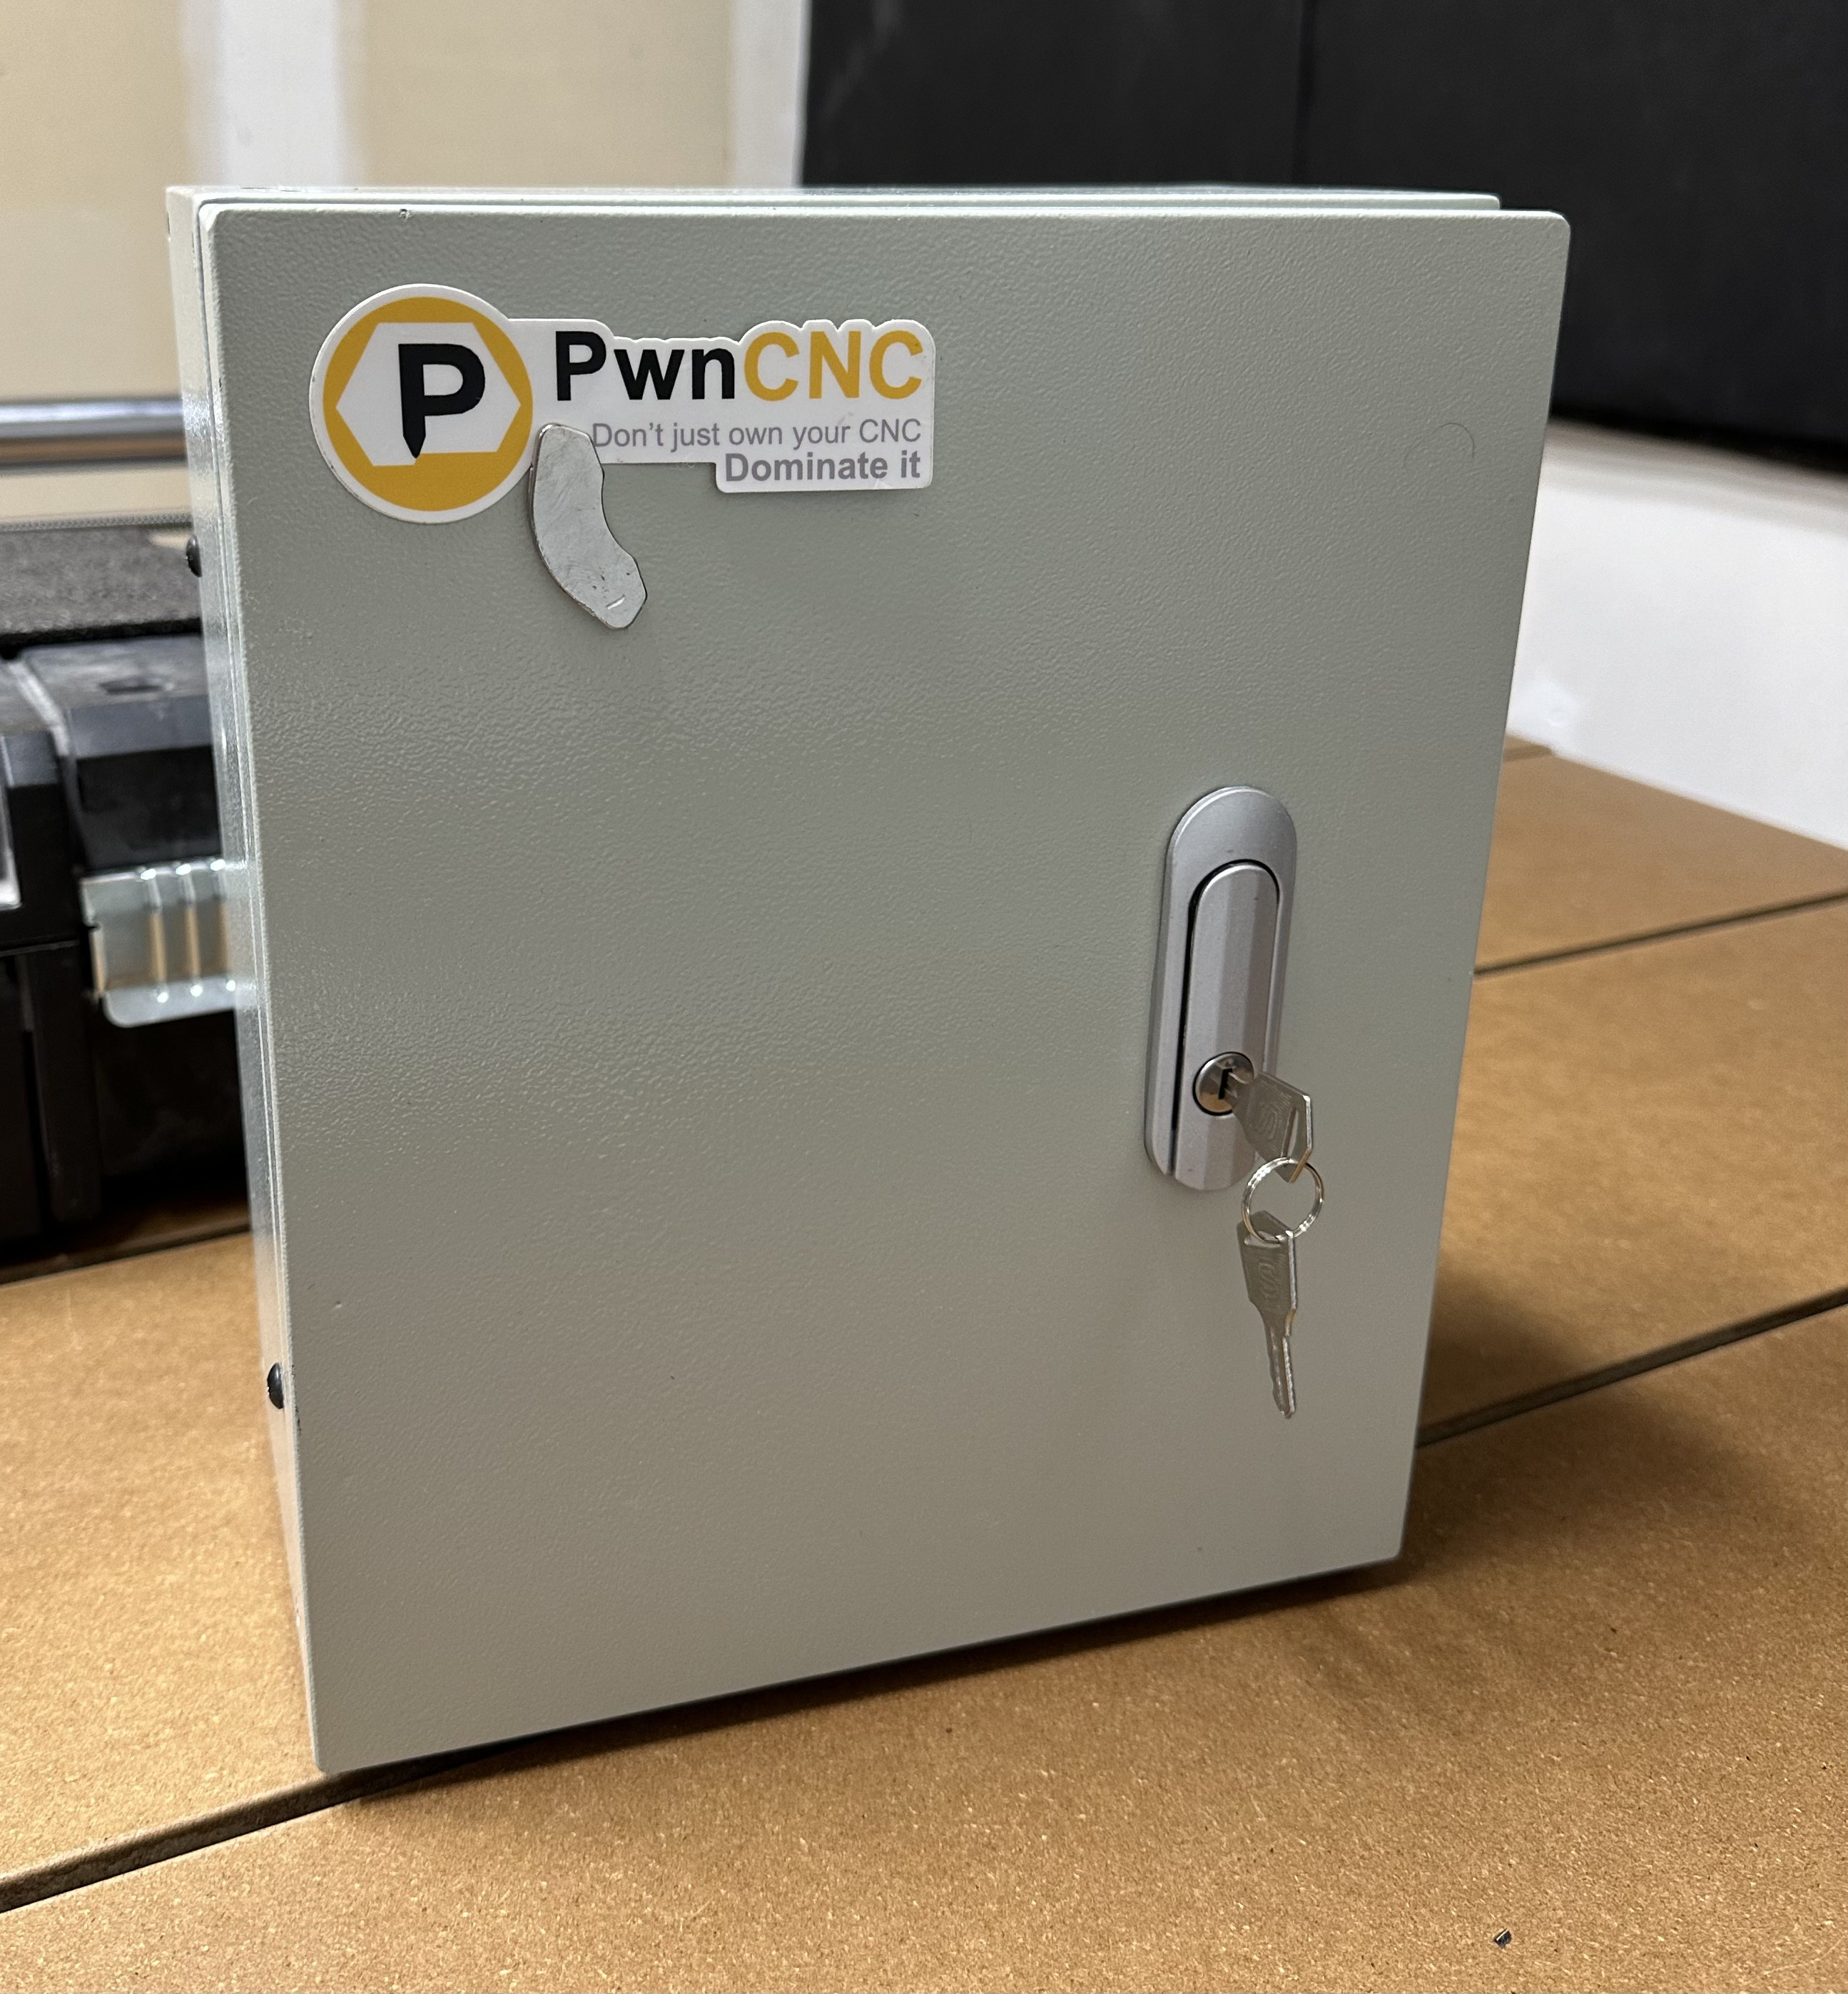
Metal VFD enclosure - I already had this case here and needed some extra room for connectors and to fit a braking resistor.
Inside of VFD enclosure. Some upgrades made include, braking resistor, relay-output to indicate VFD run status, external/remote manual override connection, E-Stop passthrough to controller power enclusure, external RJ45 for remote-mounted VFD control

New large drag chains - enough to fit all cables and coolant tubing.

3nm NEMA 23 JMC closed-loop integrated motors. Masso’s OEM motors.

Adapter plates for motors - make room for the 31mm shafts on these motors as originals had 21mm - 3D print + aluminum + EVA foam dust seal

X motor fit to right side of machine

TVVP and TVVSP motion cable. 150 feet total - 75 feet direction/pulse and 75 feet power/alarm/enable/homing. 15ft Y, 15ft B, 18ft X and 27ft Z

Custom relay enclosure with in-line GFCI to control coolant pump from CNC PLC

Coolant pump fit with Neutrik power connector
